Temperature Sensor (ESP32)
Temperature Sensor with ESP32
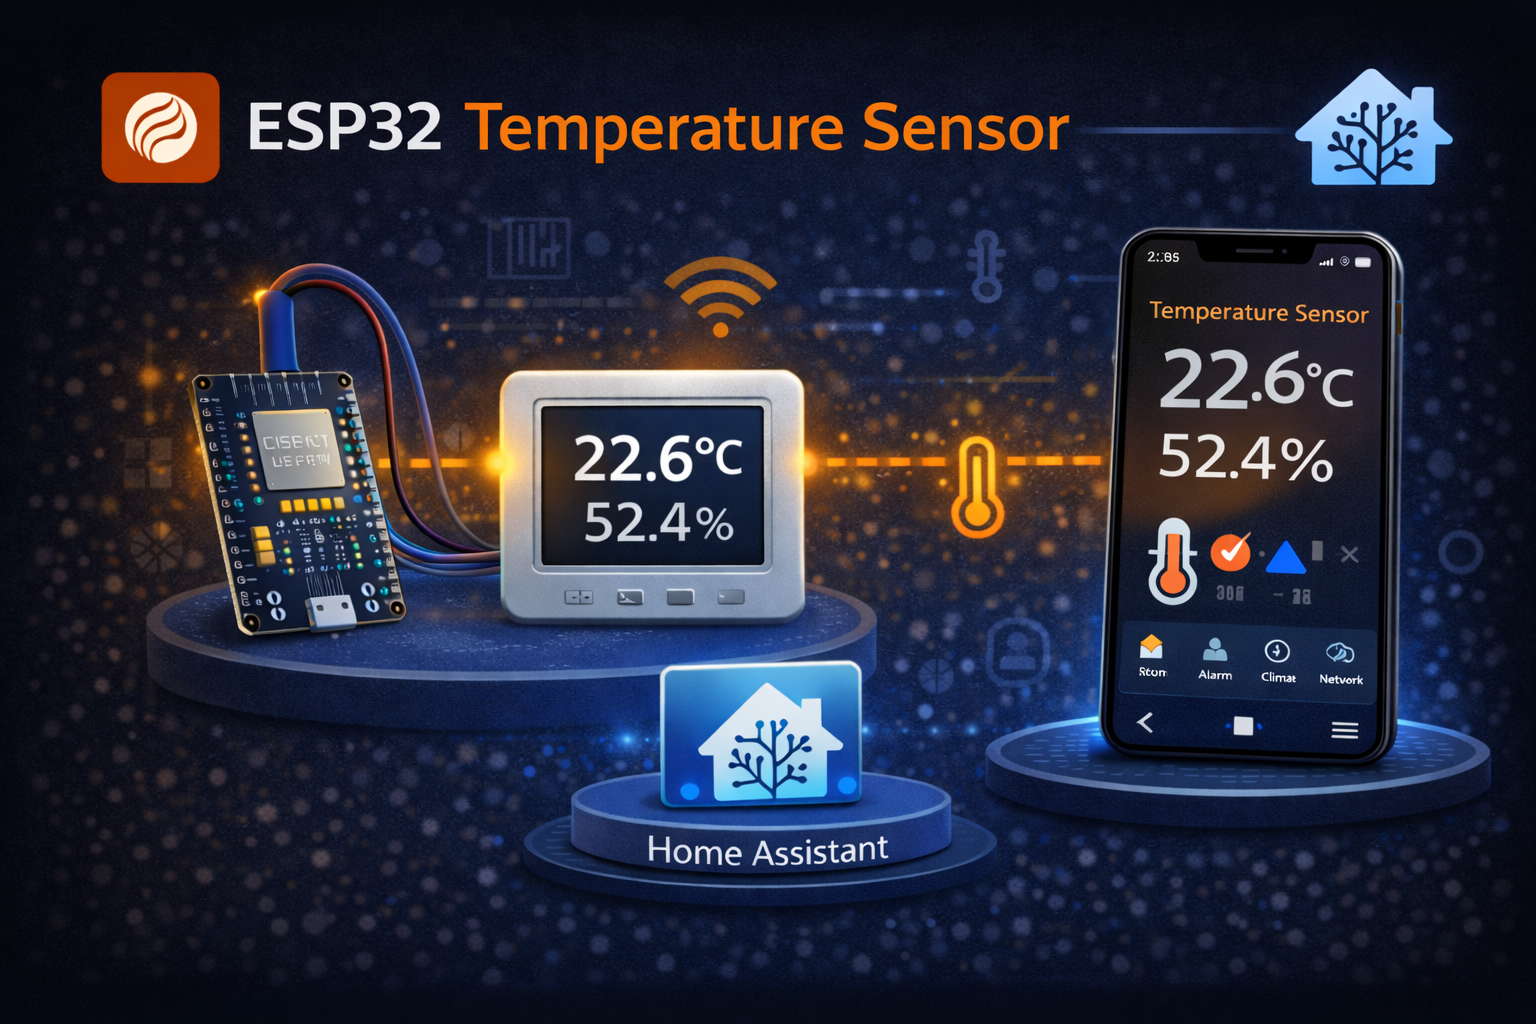
Section titled “Temperature Sensor with ESP32”Build a wireless temperature and humidity sensor using an ESP32 and DHT22 sensor. Fully integrated with Home Assistant.
What you need
Section titled “What you need”| Component | Price | Notes |
|---|---|---|
| ESP32 board | ~$5 | Any ESP32-WROOM |
| DHT22 sensor | ~$3 | More accurate than DHT11 |
| 10kΩ resistor | ~$0.01 | Pull-up resistor |
| Jumper wires | ~$1 | For connections |
| USB cable | - | For programming |
Total cost: ~$10
Wiring
Section titled “Wiring”ESP32 DHT22───── ─────3.3V ───→ VCC (pin 1)GPIO4 ───→ DATA (pin 2) └──[10kΩ]──→ 3.3VGND ───→ GND (pin 4)ESPHome Configuration
Section titled “ESPHome Configuration”esphome: name: temperature-sensor friendly_name: Temperature Sensor
esp32: board: esp32dev
wifi: ssid: !secret wifi_ssid password: !secret wifi_password
api: encryption: key: !secret api_key
ota: platform: esphome
logger:
# DHT22 Sensorsensor: - platform: dht pin: GPIO4 model: DHT22 temperature: name: "Temperature" filters: - offset: -0.5 # Calibration if needed humidity: name: "Humidity" update_interval: 60sStep-by-step
Section titled “Step-by-step”1. Prepare ESPHome
Section titled “1. Prepare ESPHome”- Open ESPHome in Home Assistant
- Click + New Device
- Name it
temperature-sensor - Select your ESP32 board type
2. Add the configuration
Section titled “2. Add the configuration”Replace the generated config with the YAML above.
3. Flash the device
Section titled “3. Flash the device”- Connect ESP32 via USB
- Click Install → Plug into this computer
- Select the COM port
- Wait for flashing to complete
4. Verify in Home Assistant
Section titled “4. Verify in Home Assistant”After flashing:
- Go to Settings → Devices & Services
- The device should appear automatically
- Click Configure to add it
Calibration
Section titled “Calibration”DHT22 sensors can vary slightly. To calibrate:
- Compare with a known accurate thermometer
- Adjust the
offsetfilter value - Positive offset = increase readings
- Negative offset = decrease readings
Alternative: DS18B20
Section titled “Alternative: DS18B20”For waterproof applications, use DS18B20:
sensor:  - platform: dallas_temp    address: 0x1234567890ABCDEF    name: "Temperature"    update_interval: 60s
one_wire:  - platform: gpio    pin: GPIO4
Troubleshooting
Section titled “Troubleshooting”No readings / NaN values
Section titled “No readings / NaN values”- Check wiring connections
- Verify the pull-up resistor
- Try a different GPIO pin
Unstable readings
Section titled “Unstable readings”- Add capacitor (100nF) near DHT22
- Reduce update_interval
- Check power supply quality
Device not connecting
Section titled “Device not connecting”- Verify WiFi credentials
- Check if ESP32 is within WiFi range
- Look at ESPHome logs for errors